Wednesday, 9 May 2018

Instagram.

Social Media
 Lastly I decided to take this short blog post that reflect my instagram page that I put together. For me I use instagram for a lot of research and when it comes to makeup - such a visual thing- I decided the best docile media platform would be Instagram. This was just an addition to the list of things I created but I thought t would be nice to include on the website and advert posters! The reason for that being that my taggert market use instagram all the time, with the communication available having my brand on Instagram allows my target audience and customers to take, view pictures and look at things such as tutorials and new releases!


I decided to set this account up as a health and beauty business account, linking my website in the bio and keeping it all fairly simple. My picture is a more detailed version of my logo as opposed to just my name, and I've added some pictures to my feed which include my products and a photo form the photoshoot. 
 Overall I think this was a good idea to produce as it fits my target audience perfectly and is a good visual way to represent my brand on social media! You can follow the account HERE

Tuesday, 8 May 2018

Website Evaluation.

Reflection
 I decided to create this blog post to showcase my website using some screenshots and justifying why I have made things the way I have! I have made a blog post prior to this showing my experimentation with WIX.
 The process of making a website is a lot longer than I had anticipated, I think the reason for this would be because when I last made a website portfolio I only needed to add my image onto the website and an about page, where as this time around I had created a whole brand and products that I needed to set out professionally. I needed to add a shop page, think about light boxes, transitions, what happens when you hover the mouse over certain things and more.

Slogan Transitions
Hover & overlay options...


  Something I decided to add to my website was a Spotify playlist that plays some 'cafe music'. Initially I wasn't going to have any music playing as I couldn't decide on the type of vibe I wanted to musically portray to my audience, therefore by sticking to something such as cafe music it allows customers to almost relax and perhaps not notice it playing, and are therefore less inclined to want to turn the music off or just shut the browser! This in theory I thought was a really good way to interact with the audience in a subtle manner, however upon reviewing my decisions and pin pointing my 'what went well' and 'even better if's' I decided to remove this. The reason for that being that you needed spotify in order to play the music and it also half showed up on a smaller laptop and look out of place!

 In this screen shot you can see the difference of the Home page on a desktop and a mobile device. For my logo I could't add it in and get it arranged the way I thought looked good so I decided to stick with a similar font and just have that on the home page. I think my site looks best on a desktop as transitions and some extra's are available on a desktop. When producing my site I knew it would look slightly different on a mobile device however I didn't think it would be a different as it is so if I could go back and adjust or alter some things I would try and find a template or way of arranging things that made it look a little bit more professional on a mobile!


 These screenshots on my iPhone clearly show the difference in layout, so I decided to insert screenshots of my desktop below to compare and contrast:


 The interesting thing for me was I was viewing the website differently depending on the desktop I was using. for the first screen shot on the left I used my Macbook, then the one on the right shows what it looks like on a larger iMac, which is interesting because the 'Half Way There' slogan didn't seem to appear at the time when I was completing this, however I can guarantee it is there!
 When creating this website I didn't realise how much technical work it would take for things such as layout to be done correctly, I think if you weren't looking into too much depth the website looks nice on a smaller screen however on the big screen you can see everything.


On a positive note I think I managed to incorporate my colour scheme and over all vibe I tried to achieve with my products and portray that onto my website without having it be too repetitive. I wanted to add some of my own images as you can see, however I have of course taken a lot more images but I found they didn't really work too well when 'bombarded' so I decided to stick to the more minimalistic side to things, as my demographic have clearly stated that is something they prefer.

 Relating this to my demographic and how throughout this project I have constantly been referring to my audience more so than last year it has enabled me to develop as  a person and creator. The audience are the focus in any project, so aiming to please them is the goal. When looking in to this it was clear to me - as you would have read in blog posts- that minimalism in particular is something that females ages 18-25 prefer and gravitate towards, I feel as though now a days when things are 'too much effort' or perhaps 'too intricate' people don't bother. I think my website is very to the point, it gives you information about my brand, the products I sell, along with images of the products being used, and in photoshoot like environments. Navigating around the site is simple, hence why I wanted to stick to very few tabs, minimalism is KEY.

Conclusion
 To conclude this blog post I think I would like to reflect on the journey I took producing this site and the creative freedom I had throughout the project as a whole. Being able to create a website how I want to portray my brand and my products was really interesting to me, I think I have created a well working and good looking website that does its job. Of course there is always room for improvement, if I had a longer extension for this project I would have liked to look into building websites, tutorials and more, in order to get the full effect of a really professional website. On the other hand this is all of course a mock up, my products don't actually exist which is why I wasn't too disappointed with perhaps the lack of professionalism. given my current circumstances I was able to produce something that anyone could look at and realise a lot of effort and work has gone into it.
 I am excited to see my new skills set after being faced with making my own shop website, it has made me put on a more 'business-like' mind set along with keeping my target audience front row of everything I produce.


Monday, 7 May 2018

Focus Group - Final Designs.

Final Designs
 As the decline of May 10th comes around I decided I need to round off all my loose ends and evaluate my whole project. Firstly I needed to produce this very blog post that discusses the focus group I had a couple of days ago. I gathered some people in my target market to quickly answer some questions about my final designs and what they thought about them. I decided to ask three main questions to get the opinions across, and jotted down some of the more important and note - worthy answers as seen below!


 In this focus group I had brought along my mock up designs made form paper and explained my brand and whole idea and aims. The answers and overall response was very positive, I can see from a potential customers perspective it was hard at times to just focus on the packaging of the product as of course at the end of the day you buy a product for the product inside, not so much the cardboard it comes in! Despite this I think the responses I did receive really helped my project as it also allowed me to view my products from multiple points of view, as a designer, potential customer myself (as I fit in the target market audience) and also a customer who perhaps doesn't like packaging and the looks of things. 

As you will have seen in previous blog posts I have created posters and provided multiple screen shots from different angles of my products, however seeing as I had printed out and made my mock up that I would do a mini impromptu photoshoot with my iPhone and using VSCO to edit and out them together!


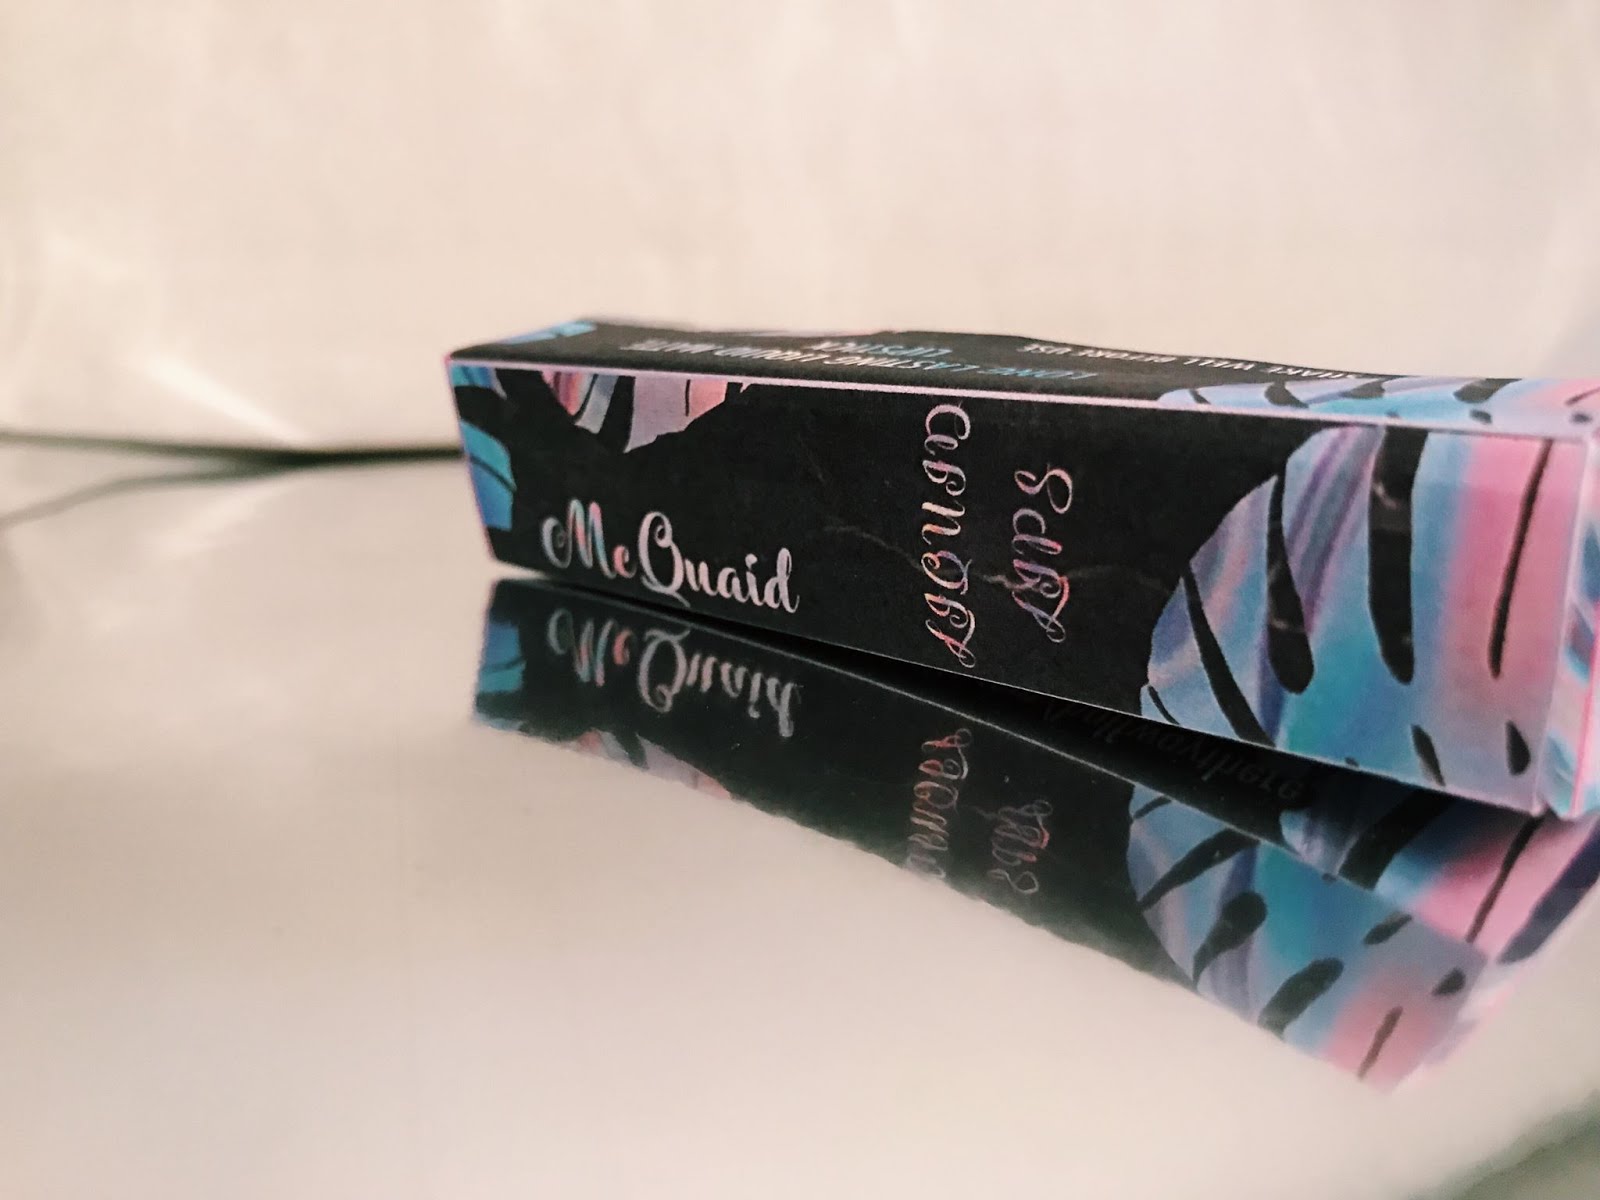
The material underneath is some 'holographic paper' I ordered from eBay at the beginning of this project that I thought I could potentially use for my mock ups, however as the designs got slightly more intricate and the paper quality not being the best I decided I could use it for purposes such as the above and in my sketchbook instead!

 Conclusion
 By conducting this focus group and allowing people to physically see some of my products was really effective. It allows you as the creator to see what you've spent so long producing, researching and planning and to then see the reaction from someone was really interesting to me. Keeping that in mind I think by gathering these results in a more informative way )as opposed to another questionnaire) I have thought more about my demographic. The justification for this being that females aged 18-25 spend a lot of time on social media, hence why the previous questionnaires that were sent out on social media were effective for my specific brand and the questions I wanted answering, however when it comes to physical products, verbal communication is the most effective. I think the reason for that is that when you answer a survey you feel the need to be formal and really think about what you're going to say in order for your response to have an effect, however when it comes to a focus group you can see their facial expressions and their first thoughts and opinions, especially when surrounded by others as it sparks things such as 'this reminds me of...' 'I could see this as the next...'. 


Wednesday, 2 May 2018

Advertisement Poster.

Bus Shelter
 The initial idea for this portion of my production was to produce a digital poster that would be displayed in a bus stop. I looked into printing an actual sized poster however they were huge and expensive so what you see in this blog post is my digital journey to producing the poster!

 Firstly I wanted to make it different to my YouTube ad, I wanted to line the products up as if it were a photoshoot of the products! I lined them all up and included some greenery.


 Above you can see my final product, including the instagram name ( as by having the website URL wouldn't be effective on a poster - no one would bother to remember!-) I experimented with different leaves however I didn't want it to look too similar to the products packaging. I also decided to experiment with the paint brushes to try and get the effect of a lipstick. It took few attempts to find the right texture I was looking for however I was happy with what I ended up with.

 Once I had created the poster showcasing my products I decided to actually create a little mock up getting an image from Google of a bus shelter, just to show what it would look like!


 Conclusion
To conclude, this particular piece of production was just an addition to my other pieces of work, I wanted to show a variety of options and things I could create to market and sell my products, whether that be through social media, a website, YouTube advert or a poster! I think I have created a large array of work that varies in where the demographic would view the advertisements. I decided to create a bus shelter poster as I had in mind that my target audience often use public transport for work, school etc so by having it showcased at a bus shelter in town would be a perfect way to promote my brand. To justify my other reasons I would say that social media is the number one way to reach females aged 18-25, particularly YouTube as I found out in my LJ Hugs brief last year. It is a really effective way of reaching the right audience.

Tuesday, 1 May 2018

YouTube Advertisement Banner.

Banner
 Since the beginning of FMP I knew I wanted to create a YouTube banner advert as part of my marketing for my products. As production for this FMP lasted longer than I had anticipated I decided that including secondary research for youtube banners would be best off in a separate blog post that I produced a while back (here) so that this post can curly be for the creation process and final outcome.

 When researching the sizes for my banner I decided to look into the monetising for content. This showed a variety of different banners and ads that were available to create along with information about them which was really helpful1. When looking into banners I needed to think about the type I wanted to create (for example I didn't want a moving image advertisement) and also how it would be viewed. As you can see in the screen shot only certain banners are seen on desktops, whilst some are on mobile and Tv's for example. The type of banner I wanted to produce from he start was an 'Overlay Ad'. This would be seen on the video as a banner you need to exit rather than having one on the side of the video.


 So what I decided to do was open up Photoshop and create a document the correct size (or as close to it!) in order to begin creating my banner. The adverts banners I decided to create are in fact only able to be viewed on a desktop computer.


Step 1


Step 2


Step 3


After I had looked at layers and positioning within my given space I decided to open up another document and experiment with added one of the images from the photoshoot as seen below:


 This was interesting to experiment with, I added multiple of layers just to see how colours and textures go together so it is a very busy example to show! I didn't like using the images in the end so decided to stick to the more simplistic advert as show above. However saying that I still decided to experiment just so that I can 'trial and error' different designs and layout to get the best one to suit my brand and products I am advertising!


In the example above I have used an image and place my products round it, along with advertising the '10% discount' in order to entice my target market. I have also included to 'shop now' text, although in the image you won't of course see it but if it were placed on YouTube it would be a link that opens a new tab / window leading you directly to the website!

 Conclusion
To conclude my youtube advertisement banner I would say that it was a very simple and fast piece of work to do as of course it needs to just be a simple engaging advert to try and attract my demographic to my products. I keep to the same aesthetic and images that were used in my products production as well as my website, keeping everything connected.


1: https://support.google.com/youtube/answer/2467968?hl=en-GB

Final Designs & Final Experimentations.

Designs
 After producing multiple digital mock ups ad a physical mock up of my product, it was time to finally produce the final versions of each product. To do this I decided to make each individual item (on Photoshop) and then make a net design of each item and what it would look like. Before I began the final products I had some font to add to my products of course which was something that needed some trial and error. I wanted to make my logo and overall design link up to the rest of the writing on my products, however I didn't want it to blend in and all become one.
 Below you can see some screen shots of my eye shadow palette and the change in colour and background of the name. Again like my logo I wanted to incorporate texture into my name so I creating clipping masks of some images, one of which included the smoke from the photoshoot.


Pink smoke used as clipping mask


Same image as logo and leaves 


Image used for background of website used for name of palette

My favourite one would be the last because of the way I incorporated the image that links to the website and it also incorporates holographic theme, keeping it all linked together to have consistency throughout. I have inserted below some screenshots of my netting in progress, using specific measurements in order to print them out and make physical mock-ups. 


I decided for the 'flaps' of my products packaging, rather than having them plain black I would put the holographic photo that I used as a clipping mask for my logo, again to give the product some consistency as well as some more colour and interest to the packaging.
 

Final Designs
 Once I had done some final tweaks to my packaging I was able to fully complete al three products (Lipstick, Eye shadow & foundation). This happened later than anticipated when looking back on my time scale, however moving positively forward it now means I can produce my mock up photos for my website, poster and YouTube Ad. I think when it comes to the YouTube Ad I will use photoshop, but to present my work I want to perhaps try and incorporate it into my website as an image that is mocked up to be an advert. The issue with my proposed YouTube advert idea is of course I cannot pay and make an advert for a brand that doesn't really exist. 


PhotoShoot Final Images
 As briefly shown in my BTS photoshoot I briefly played around with the images I had taken, trying to incorporate some holo into the images in a doodle way! This for me was unsuccessful as it didn't give me the overall aesthetic I wanted to achieve so I therefore did some more experimentation as seen in some screen shots below:


These images were really fun to experiment with using a variety of images curtesy of Google, to give some texture to a photo and some more depth. These are the types of images I want to have dotted around my site as the colour of the smoke in the foreground along with the tress in the background relate to both the colour of my products themselves as well as the packaging. For some it may be easy to perhaps see no obvious link or correlation to my products however when I was researching existing beauty websites 8 out of the 10 sites I explored featured photos of models in perhaps an 'unrelated scene' BUT they showed the type of person to perhaps use their products, the setting often reflected the product of the brands ideas and inspiration etc. The direction this has taken me has allowed me to add some real photographs into my website and production process as I have now created my digital versions of my products!

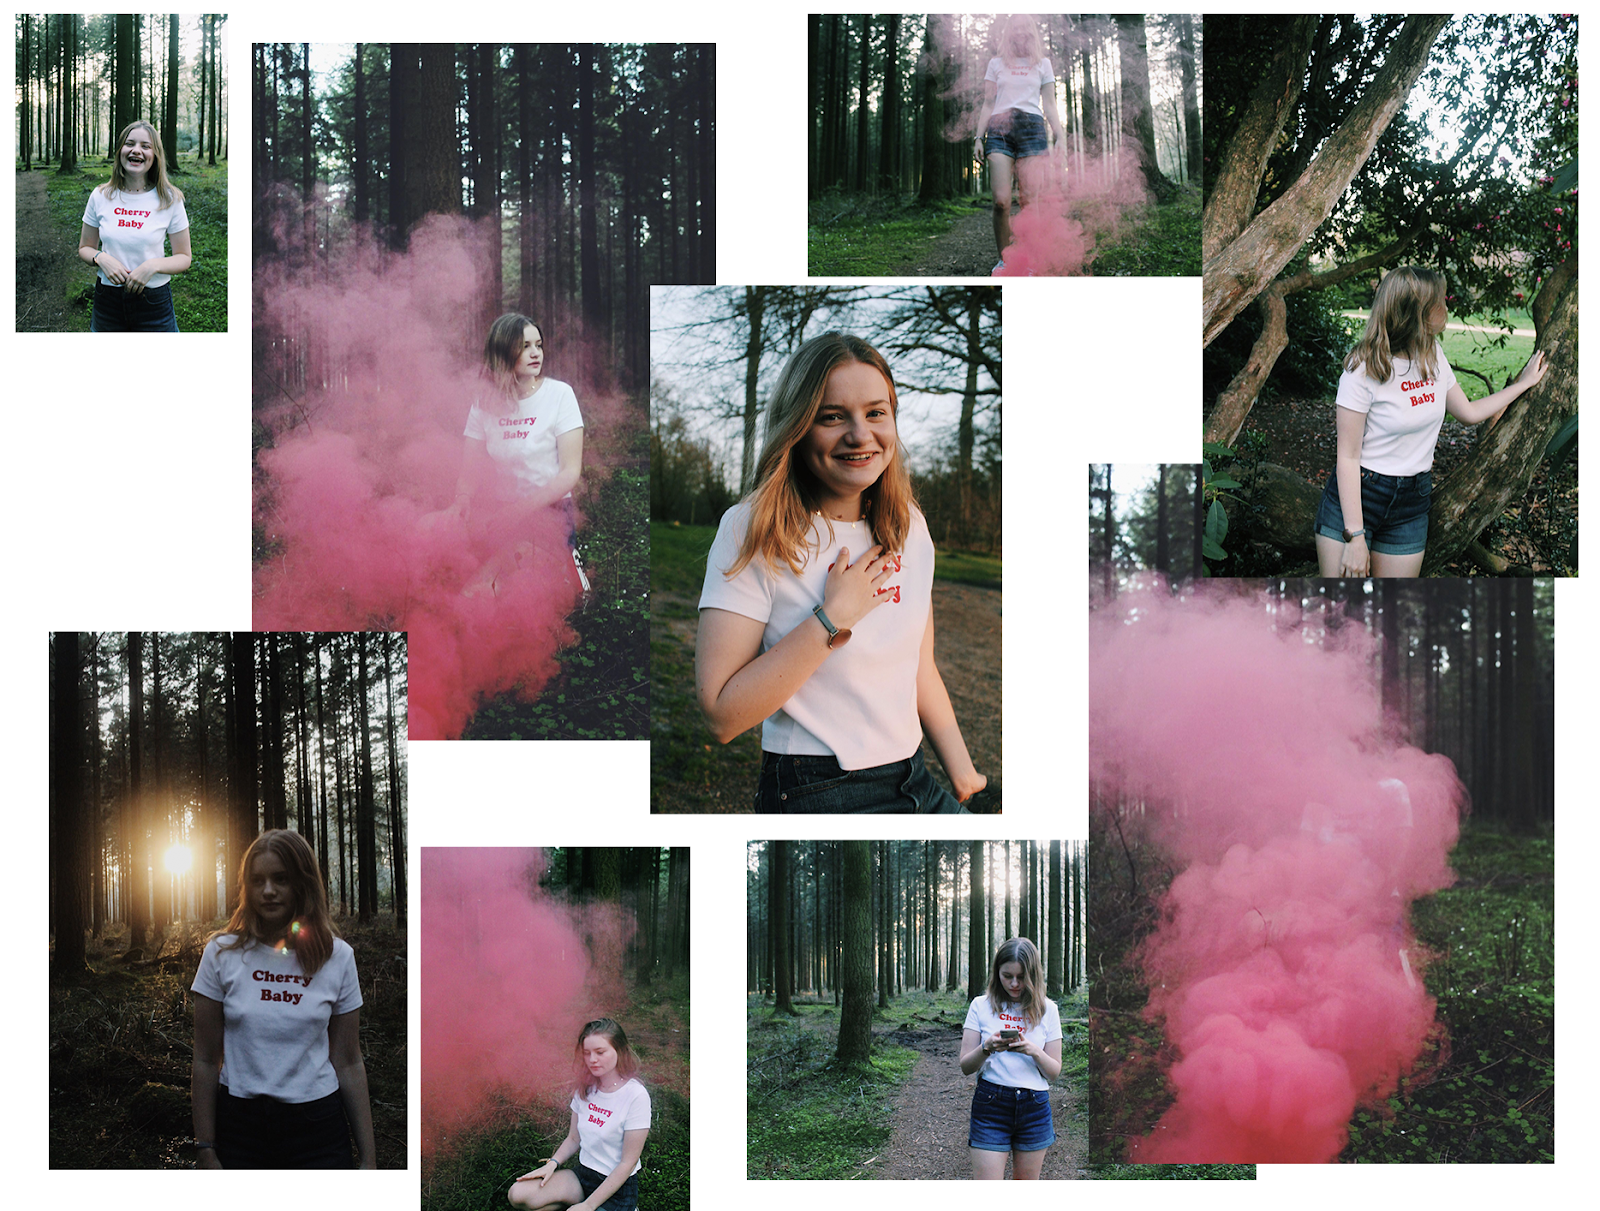
 I also decided to quickly produce a little collage consisting of some of the images I will be using, and ones that I couldn't fit in to my brand and direction specifically but I thought it would be worth adding into this post to show my experience and direction my final project has moved to. I knew the time and aesthetic I wanted to achieve with this photoshoot, however with things like this it's also orate trying some shots even that aren't planned just incase they can be relevant, or even if they're just to experiment with!


Conclusion
 As my production has come to a conclusion I can now move forward to creating a blog post showing my website and then also begin to look for way to improve my work. I have in fact done a focus group with peers that are in my demographic discussing my products and website and any possible improvements which will be discussed briefly in a blog post to come! As of right now I need to go back on my timesheet and update everything adding links to my own spreadsheets to get everything organised and easier for the markers to view my work!

Weekly Reflection.

Production
 Upon reflecting from my last reflection blog I have made a lot of progress in regards to moving forward with my project and 'get the ball rolling'. Once I had received my questionnaire results about my designs I was able to kick start the production of my final designs which then allowed me to see the overall aesthetic and 'vibe', consequently allowing me to begin the production of my website and more.


 The website creation part was by far the most interesting for me. At this time I hadn't had my final results and created any mock ups that look like how the real product would so I was just at the point of choosing templates and adjusting the pages and layout. I went through two templates and styles before I ended up with the one I have now, and I also needed to adjust the individual pages, including sizing, tabs, buttons and more. At this current moment I have produced my final designs which can be seen (here) meaning I can now insert them to the website. Once thing I really want to do in addition to this is when it comes to adding photographs of the products online I want to try and include some swatches or something extra rather than one image. I am also going to have a look about creating a 3D image to put on the website in the 'Shop' menu as this would make it more realistic looking. 


 As I have discussed in a blog post, when looking at my template on WIX I wanted to include some of my own images. This meant undertaking a photoshoot, I had the place time and date planned, along with a model and some 'smoke bomb' props. I wanted the images to be free flowing, I wanted them to express happiness and confidence without having a typical 'head shot' of a model with some eye shadow and lipstick on! By having mine in the woods around sunset time on a warm evening you can really tell the overall vibe through the pictures. I also contemplated bringing some material with holographic- like features to put in front of the lens to give a 'flare' like effect, however I couldn't find any with the qualities I wanted, therefore I will experiment with this on photoshop! 


Reflection
 When looking at time scale and what I have left to do, I think it will be a push however it will be done. Realistically I need to...
  • Edit some photos with some form of holo merged into them some how
  • Create a photoshop document that lays my products out in a way that makes it look like a photoshoot had happened
  • Upload images to website and write description
  • Produce YouTube advert banner
  • Produce 'bus shelter' poster
These are all tasks in which will be time consuming however once I begin the edit I will be able to go through my tasks fairly quickly I think!


FMP Showcase.

To complete this year (and the previous year) off we held a showcase in the Apex Hotel in Bath. This finished off the final part of my FMP a...